Creating test points
To create a new test point within the survey, follow these steps:
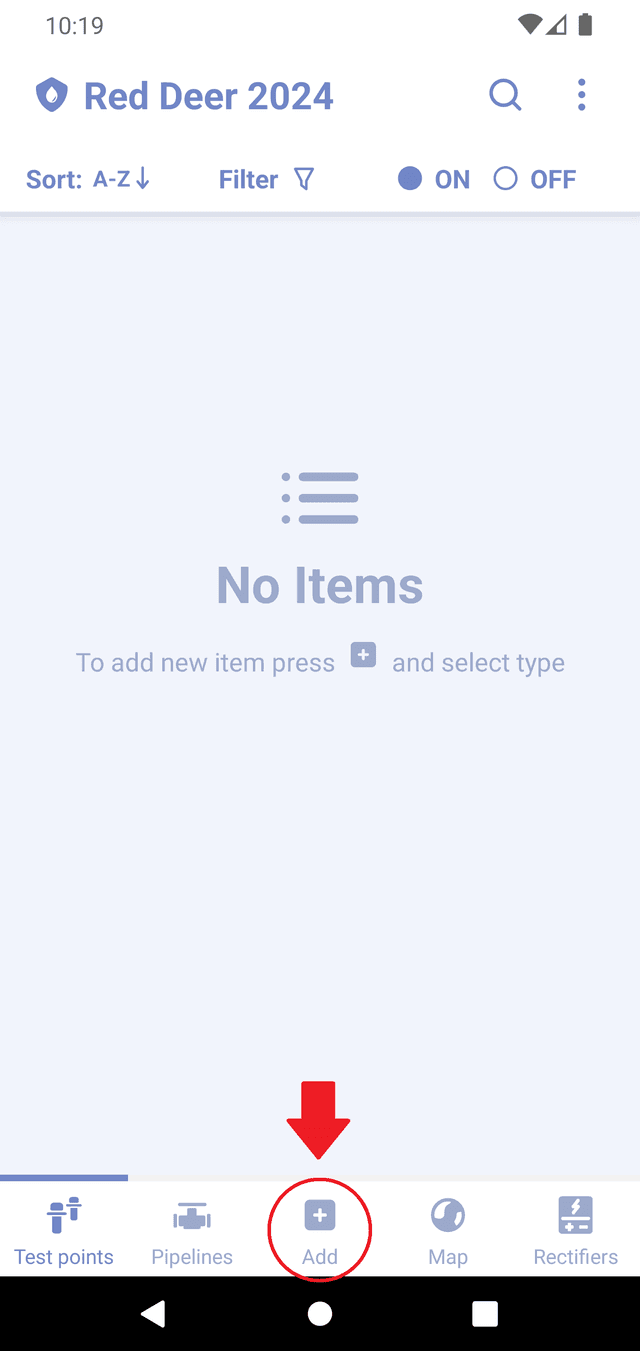
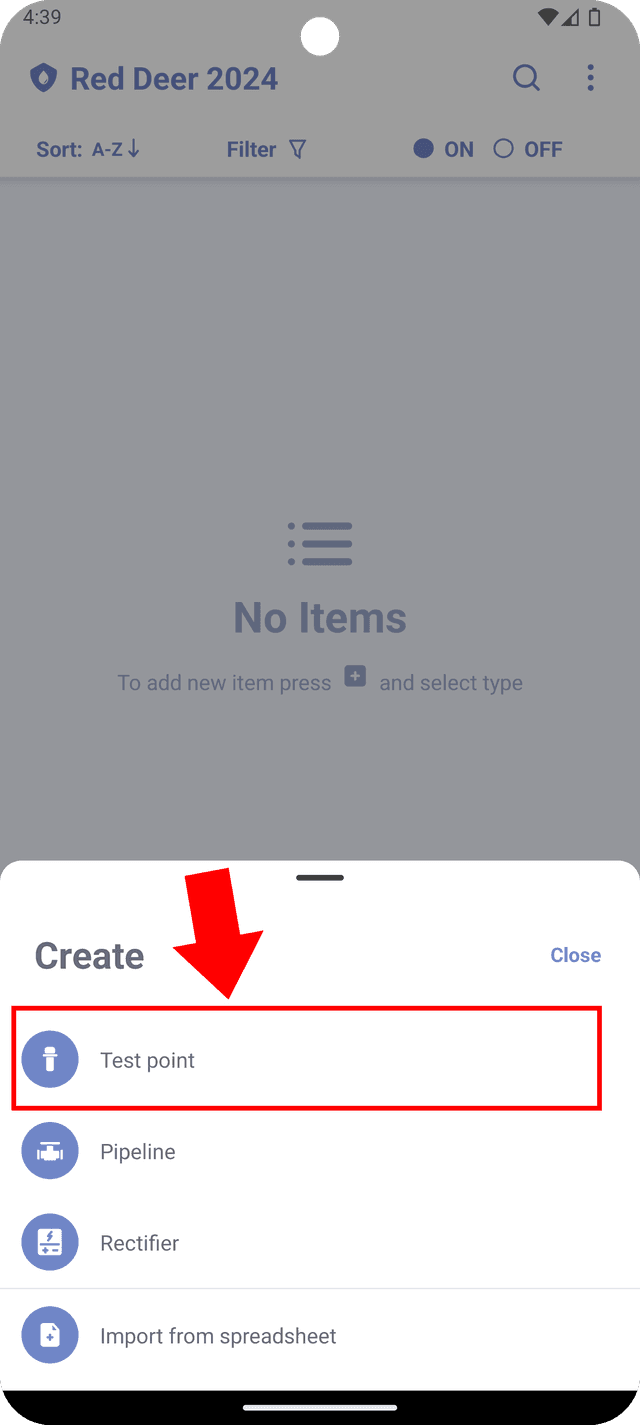
- Press the "Add" tab located at the bottom of the screen and select "Test Point".
- On the opened screen, fill out the information about the test point.
Test point properties
Each test point has following properties:
-
Status - there are three available statuses: 'Pass', 'Alert', and 'Problem'. Only one status can be assigned at the time and the user decides what status should be assigned. There are no automatic assignments based on any criteria. When no status selected, 'Unchecked' status applied.
-
Name - the name of the test point. If left blank, a default name with an index will be automatically assigned. See Default names for more details.
-
Test point type - a type for your test point. Available types include 'Test Station', 'Junction Box', 'Piping', 'Field note', and 'Measurement'. This type is used for presentational purposes and affects the icon displayed on the map for this test point and describes what readings user should expect to see in this test point.
-
Latitude/Longitude - the GPS coordinates of the test point in decimal format. You can press the arrow button next to the field to capture your current coordinates using the phone's GPS receiver.
-
Location - text field that describes the location of the test point.
-
Comments - any additional notes related to the test point.
-
Images - the users can attach an existing image to the test point or capture a new photo with your camera.
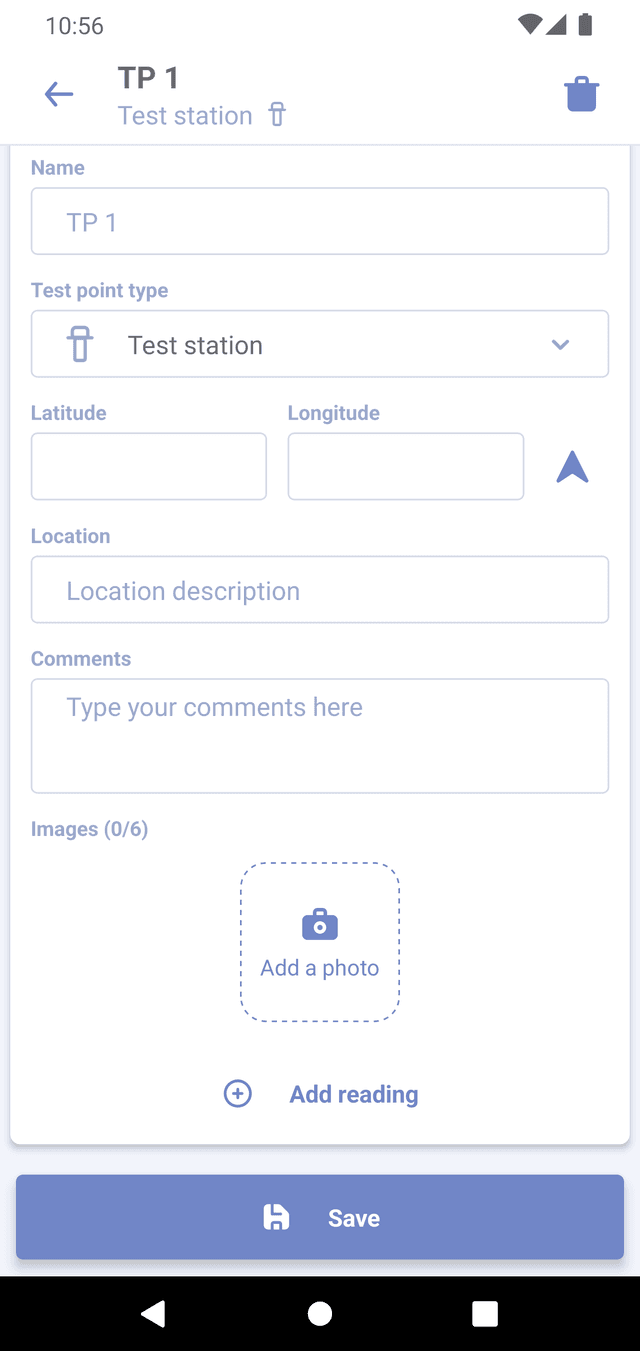
All fields are optional and fully editable.
Information entered on this screen will not be saved until you press the "Save" button at the bottom of the screen. If you go back, unsaved data will be lost.