Map layers
'Map layers' feature allows to display additional geodata on the map. It extracts information from external files and saves it with the survey.
Creating map layers
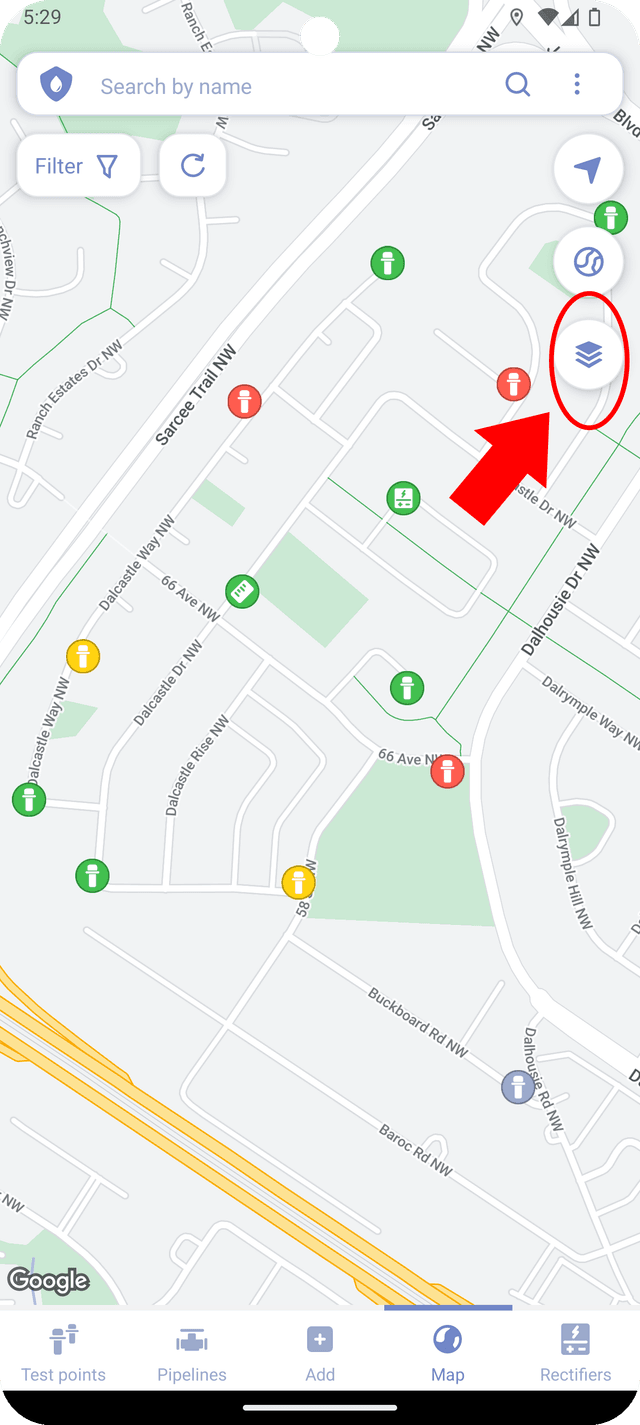
To add a new layer, simply press the layer button on the right side of the screen, and then select "Add a map layer."
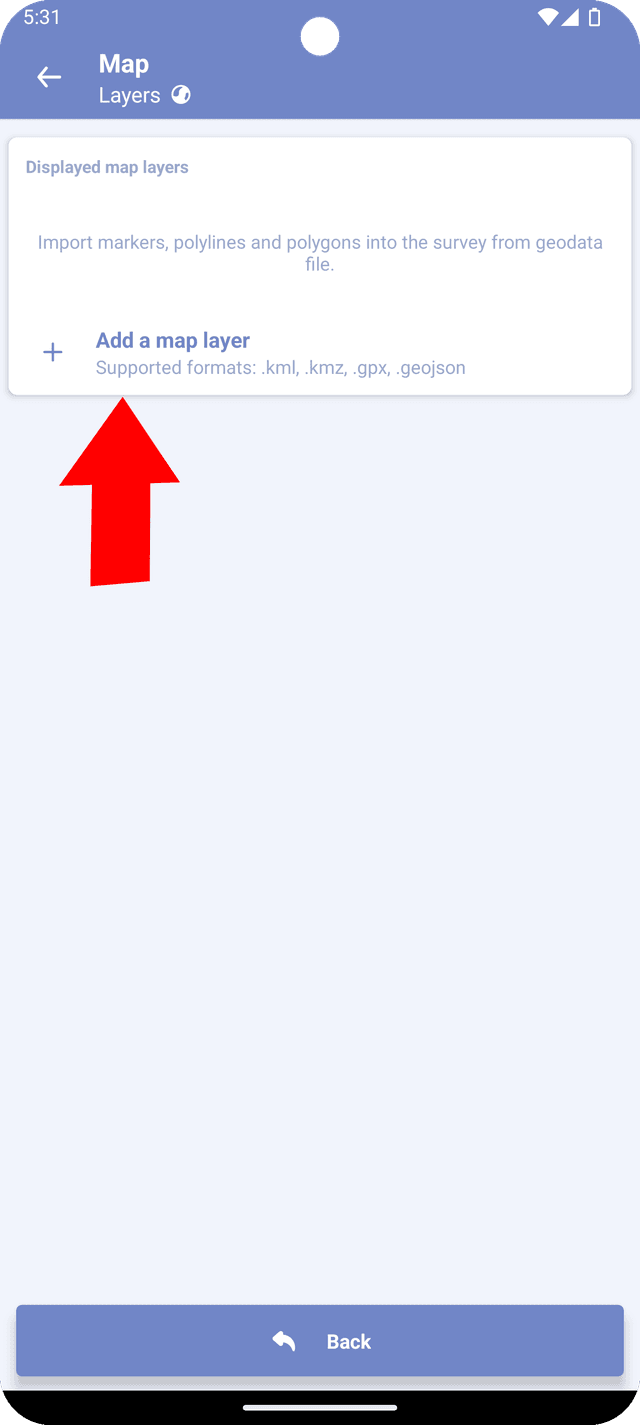
After selecting "Add a map layer," you will be prompted to choose a geodata file. Once you've selected the file, you'll be transferred to the 'Edit' screen.
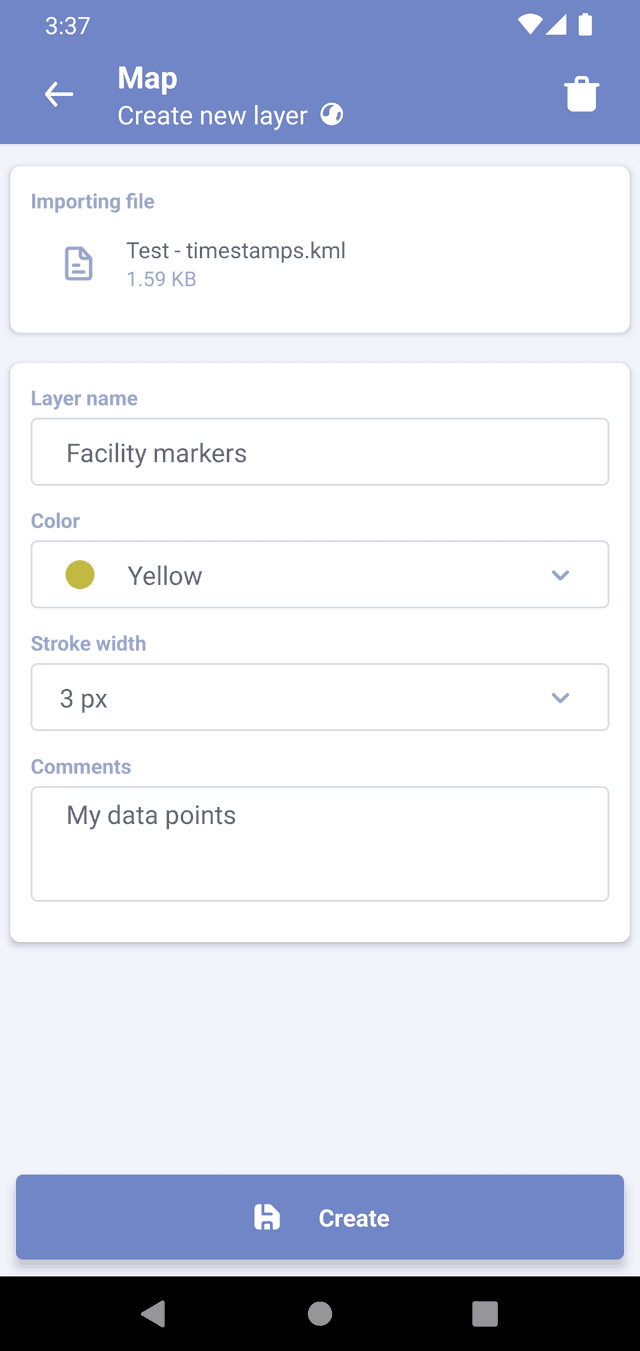
On the 'Edit' screen, you can name the layer, assign a layer color, and adjust the stroke width. All features within a single layer will share the same color.
Once you've selected the appropriate parameters and added comments, press "Create."
Managing map layers
If a survey have map layers, you will see their names in the list along with the number of imported features. The checkbox next to the layer represents its visibility on the map. To view the layer on the map, click on the triple dots next to the layer name and select "Go to."
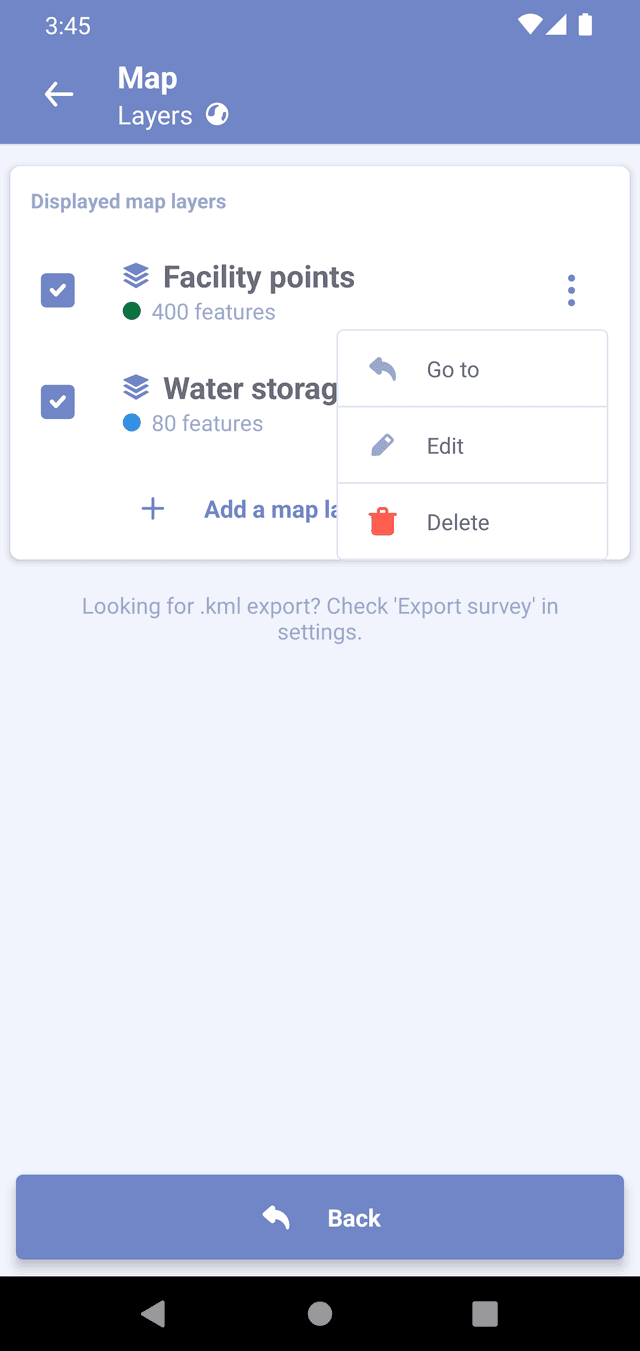
You can also edit layer properties or delete the layer from the survey. When deleting map layer, the original geodata file will not be affected.
Geo file requirements
Imported geodata file must:
- Be less than 1MB
- Has less than 500 features
- Supported formats: .kml, .kmz, .gpx and .geojson
Applying these limits ensures that your survey file will work well on large number of devices. If your file exceeds this limit, please use third-party software to split it into smaller chunks.
If a layer has more than 500 features, the extra features will be cropped, and a prompt message will be displayed. It's advisable to avoid using complex geodata files for better performance, especially on older devices.
A single survey can have up to ten map layers.